
Brief Introduction
ECMAScript (ES) is a scripting language specification standardized by ECMAScript International. It is used by applications to enable client-side scripting. The specification is influenced by programming languages like Self, Perl, Python, Java etc. Languages like JavaScript, JScript and ActionScript are governed by this specification.
What is JavaScript?
JavaScript was developed by Brendan Eich, a developer at NetScape Communications Corporation, in 1995. JavaScript started life with the name Mocha, and was briefly named LiveScript before being officially renamed to JavaScript. It is a scripting language that is executed by the browser, i.e on the client's end. It is used in conjunction with HTML to develop responsive webpages.
Environment Setup
I'll be discussing the setting up of the environment for ES6.
Local Environment Setup
JavaScript can run on any browser, any host, and any OS. You will need the following to write and test a JavaScript program standard -
Text Editor
The text editor helps you to write your source code. Examples of few editors include Windows Notepad, Notepad++, Emacs, VS Code, Brackets etc. Editors used may very with the operating systems. The source files are typically named with extension.js
Installing Node.Js
Node.Js is an open source, cross-platform runtime environment for server-side JavaScript. Node.js is required to run JavaScript without a browser support. It uses Google V8 JavaScript engine to execute the code. You may download Node.Js source code or a pre-built installer for your platform. Download Node.Js here
Installation on Windows
Download and run the .msi installer for Node
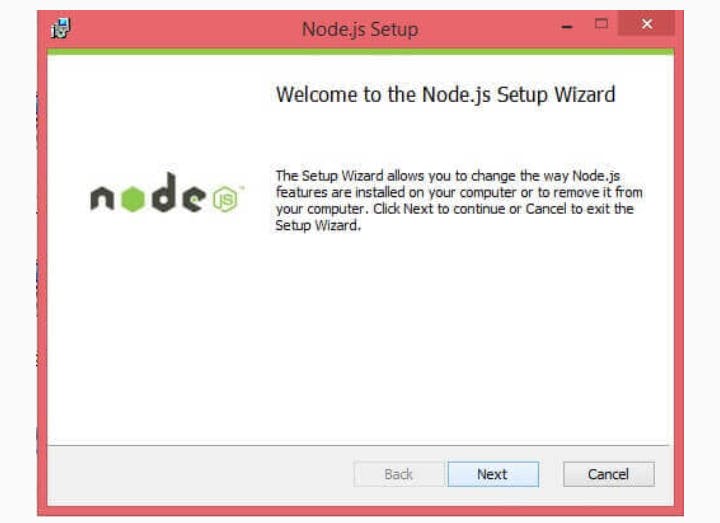
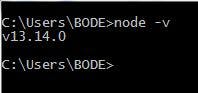
To verify if the installation was successful, enter the command node -v in the terminal window.
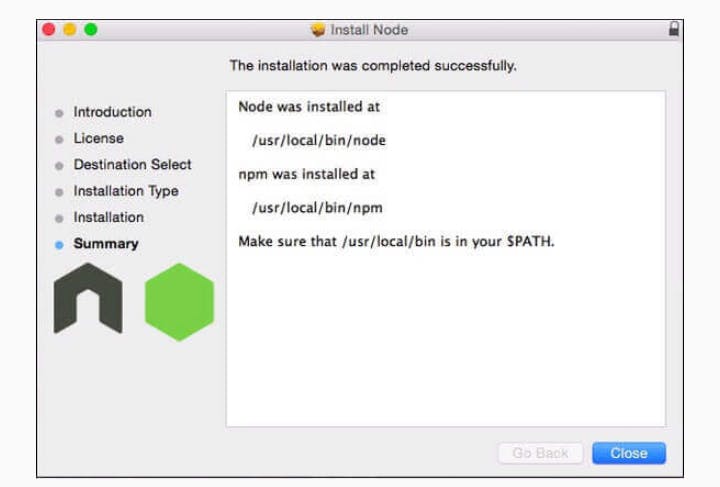
Installation on Mac OS X
To install node.js on OS X you can download a pre-compiled binary package which makes a nice and easy installation. Go to nodejs.org and click the install button to download the latest package.

Install the package from the .dmg by following along the install wizard which will install both node and npm. npm is the Node Package Manager which facilitates the installation of additional packages for Node.JS
Installation on Linux
You need to install a number of dependencies before you can install Nlode.Js and npm.
Ruby and GCC: You'll need Ruby 1.8.6 or newer and GCC 4.2 or newer.
Homebrew: Homebrew is a package manager originally for the mac, but it's been ported to Linux as Linuxbrew. You can learn more about Homebrew
Integrated Development Environment (IDE) Support
JavaScript can be built on a plethora of development environments like Visual Studio, Sublime Text, WebStorm/PHPStorm, Eclipse, Brackets, etc. I'll be discussing the visual studio code and brackets IDE in this section. The development environment used here is Visual Studio Code.
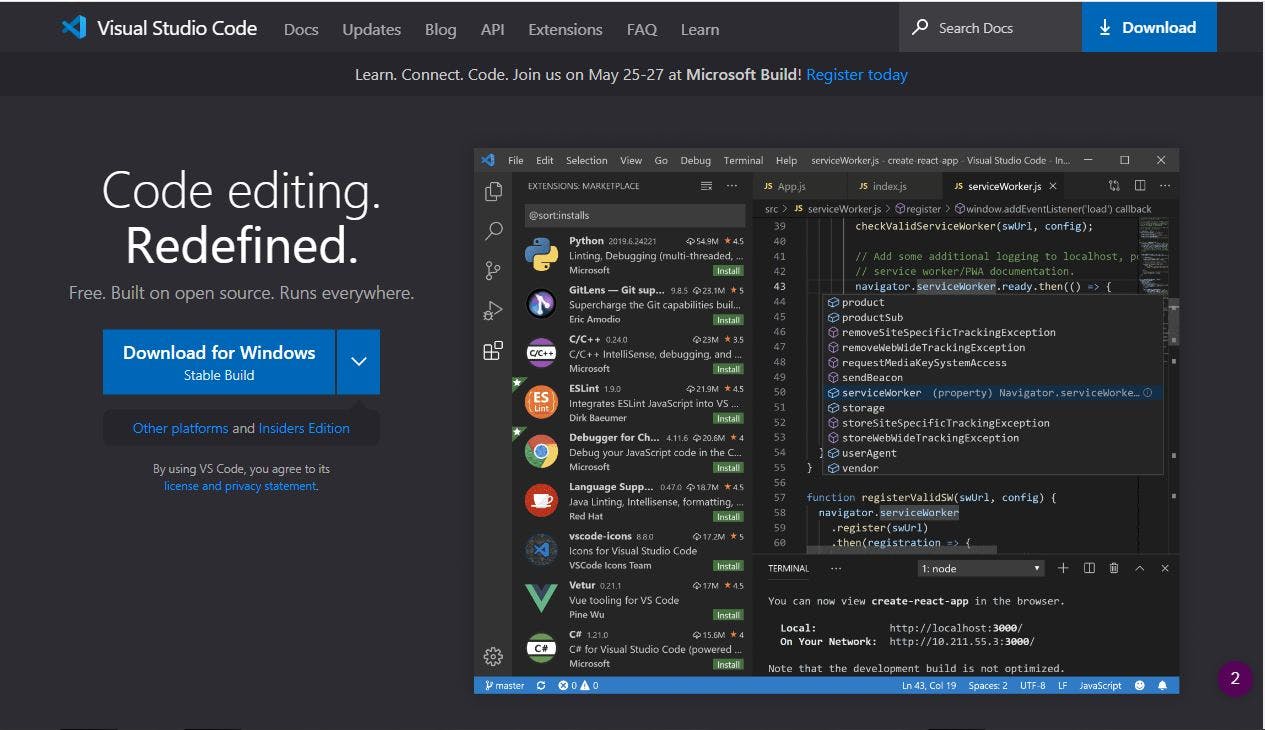
Visual Studio code
This is open source IDE from Visual Studio. It is available for Mac OS X, Linux, and windows platform. You can download VS code here
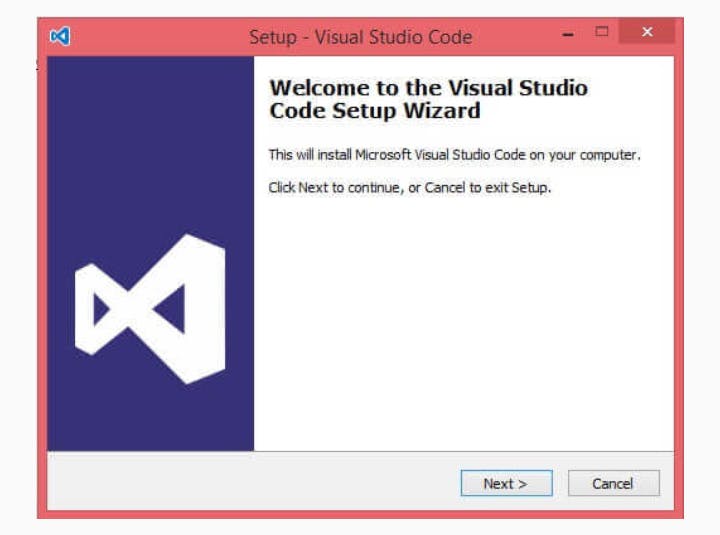
Installation on Windows
Download Visual Studio Code for windows.
Double-click on VSCodeSetup.exe to launch the setup process. This will only take a minute.
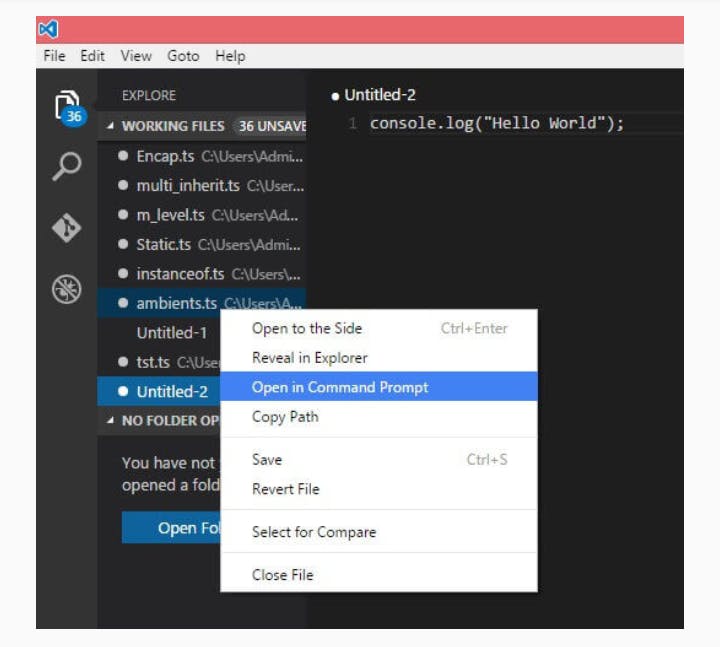
Following is the screenshot of the IDE.
![Screenshot_20210524-091726.png] (cdn.hashnode.com/res/hashnode/image/upload/..)
You may directly traverse to the file's path by a right-click on the file. Open in command prompt. Similarly, the Reveal in Explorer option shows the file in the File Explorer.
Installation on Mac OS X
Visual Studio Code's Mac OS X specific installation guide can be found here
Installation on Linux
Linux specific installation guide for Visual Studio Code can be found here
Brackets
Brackets is a free open-source editor for web development, created by Adobe Systems. It is available for Linux, Windows and Mac OS X. You can download Brackets
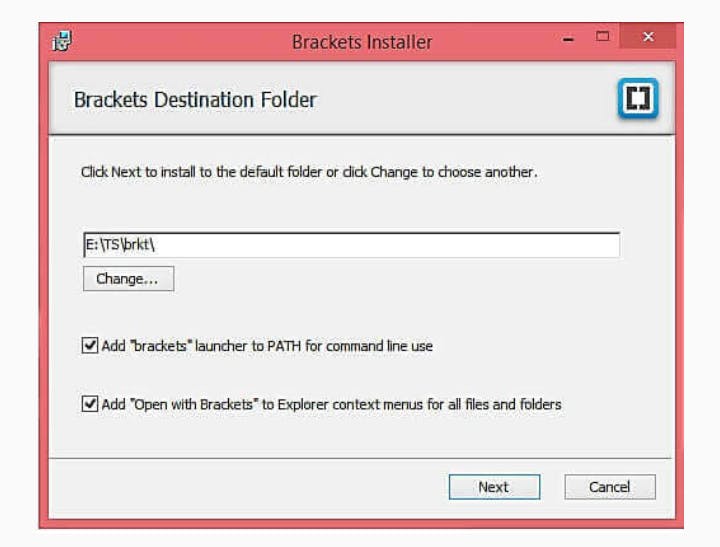
You can run DOS prompt/shell within Brackets itself by adding one more extensions Brackets Shell.
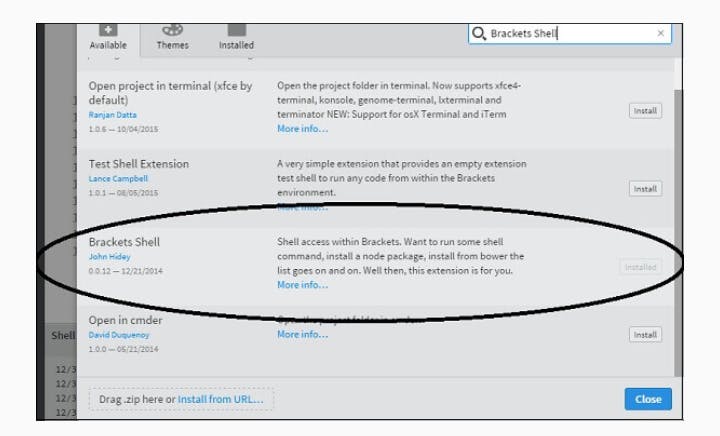
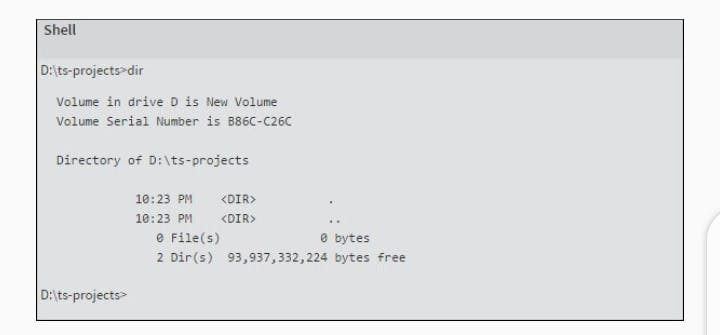
Upon installation, you will find an icon of shell on the right hand side of the editor. Once you click on the icon, you will see the shell window as shown in the following screenshot.
You are all set!! Tomorrow we'll discuss basic syntax and variables tomorrow.
Happy Learning!